


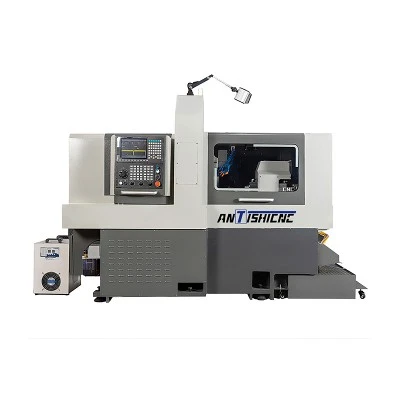
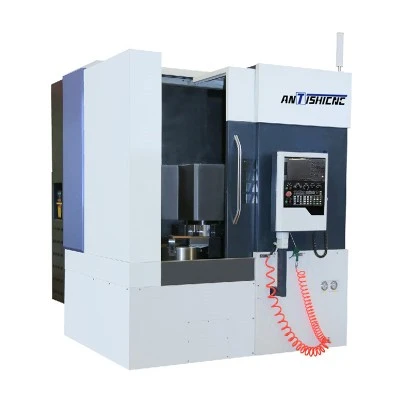
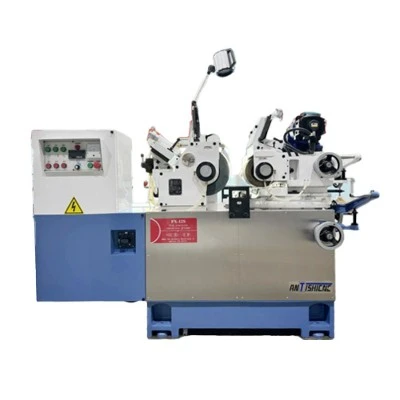
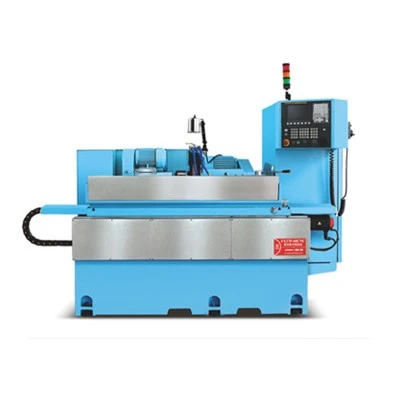
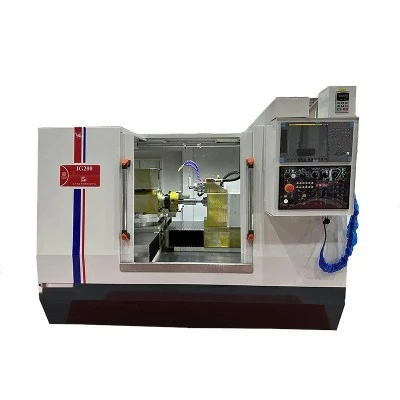


Changing the chuck on a CNC Swiss lathe is a task that requires precision, knowledge, and the right set of tools. As a supplier of CNC Swiss lathes, I've had numerous experiences with customers needing guidance on this process. In this blog post, I'll walk you through the steps to change the chuck on a CNC Swiss lathe, ensuring that you can perform this task safely and efficiently.
Understanding the Importance of the Chuck
Before delving into the process of changing the chuck, it's essential to understand its role in a CNC Swiss lathe. The chuck is a crucial component that holds the workpiece securely in place during the machining process. It ensures that the workpiece remains stable, allowing for accurate and precise cuts. A worn-out or improperly installed chuck can lead to poor machining quality, increased tool wear, and even safety hazards. Therefore, knowing how to change the chuck correctly is vital for maintaining the performance and safety of your CNC Swiss lathe.


Tools and Materials Needed
Before you start changing the chuck, gather the necessary tools and materials. Here's a list of what you'll typically need:
- Chuck wrench: This is used to loosen and tighten the chuck bolts.
- Socket set: You'll need sockets of various sizes to remove and install the chuck.
- Torque wrench: To ensure that the chuck bolts are tightened to the correct torque specification.
- Cleaning supplies: Such as a brush, degreaser, and clean rags to clean the spindle and chuck.
- New chuck: Make sure it's compatible with your CNC Swiss lathe.
Step-by-Step Guide to Changing the Chuck
Step 1: Prepare the Machine
- First, power off the CNC Swiss lathe and unplug it from the power source to prevent any accidental startup.
- Remove any workpieces, tools, or debris from the machine. This will give you a clear workspace and prevent any interference during the chuck change.
- Use a cleaning brush to remove any chips or dirt from the spindle area. Then, apply a degreaser to a clean rag and wipe the spindle thoroughly to remove any oil or grease.
Step 2: Remove the Old Chuck
- Locate the chuck bolts on the back of the chuck. These bolts secure the chuck to the spindle.
- Use the chuck wrench or socket set to loosen the chuck bolts. Turn the bolts counterclockwise until they are loose enough to remove by hand.
- Carefully remove the chuck from the spindle. Be cautious as the chuck can be heavy and may require two people to handle safely.
- Once the chuck is removed, place it on a clean and stable surface.
Step 3: Inspect the Spindle and Chuck
- Inspect the spindle for any signs of damage, such as scratches, nicks, or wear. If you notice any damage, it's important to address it before installing the new chuck.
- Examine the new chuck for any defects or damage. Check the jaws, bolts, and other components to ensure they are in good condition.
- Clean the new chuck using the same cleaning supplies as you used for the spindle. This will remove any manufacturing debris or oil.
Step 4: Install the New Chuck
- Align the new chuck with the spindle. Make sure the bolt holes in the chuck match the holes in the spindle.
- Insert the chuck bolts through the holes in the chuck and into the spindle. Hand-tighten the bolts to hold the chuck in place.
- Use the torque wrench to tighten the chuck bolts to the manufacturer's specified torque. This is crucial for ensuring the chuck is securely attached to the spindle and preventing any vibrations during operation.
Step 5: Test the Chuck
- Plug in the CNC Swiss lathe and power it on.
- Slowly rotate the spindle to check if the chuck rotates smoothly. Listen for any unusual noises or vibrations, which could indicate a problem with the installation.
- If everything seems normal, you can perform a test run with a sample workpiece to ensure the chuck holds the workpiece securely and that the machining process is accurate.
Tips and Precautions
- Always follow the manufacturer's instructions when changing the chuck. Different CNC Swiss lathes may have specific requirements or procedures.
- Wear appropriate safety gear, such as gloves and safety glasses, to protect yourself from any potential hazards.
- Keep the work area clean and organized to prevent any accidents or damage to the machine.
- If you're unsure about any step in the process, don't hesitate to contact the manufacturer or a professional technician for assistance.
Conclusion
Changing the chuck on a CNC Swiss lathe is a task that requires attention to detail and proper technique. By following the steps outlined in this blog post, you can safely and effectively change the chuck on your machine. Remember, a properly installed chuck is essential for achieving high-quality machining results and ensuring the safety of your operations.
If you're in the market for a Swiss Type Lathe Machine, Swiss Type CNC Lathe, or need more information about CNC Swiss Turning, we're here to help. Our team of experts can provide you with the guidance and support you need to make the right choice for your manufacturing needs. Contact us today to discuss your requirements and start a purchase negotiation.
References
- CNC Swiss Lathe Operator's Manual
- Machining Handbook


